
A panorama (formed
from Greek πᾶν
"all" + ὅραμα "sight"), is any wide-angle view or
representation of a physical space, whether in painting, drawing, photography, film, seismic images or a
three-dimensional model.
Panoramic
photography is a technique
of photography, using specialized equipment or
software that captures images with elongated fields of view. It is sometimes known as wide
format photography.
Types of panorama
- Vertical

- Horizontal

- Combined
- Spherical


Now we are all beginners. We have
no specialized camera equipment, costly lenses. But eagerly waiting for
first self-captured panorama.
So, we need some alternatives.
1.
Any camera (digital mostly preferred)
2.
A tripod or monopod (it may be a
stick or rode side fencing)
3.
Personal computer
4. Software for panorama (some camera
brand provide software included with camera package/ or our well known Adobe® Photoshop
)
That’s all for a good panorama .. Now
time for some capture and processing by hands.
Step 1. Choose a frame …
Step 2. Divide the frame
into parts … (no. of parts will be more with increased length of panorama) normal
viewing angle of camera is approx. 40 degree. So if you want to take a
100 degree panorama you should divide your frame into 4 or more because
overlapping parts of each frame is essential for stitching.

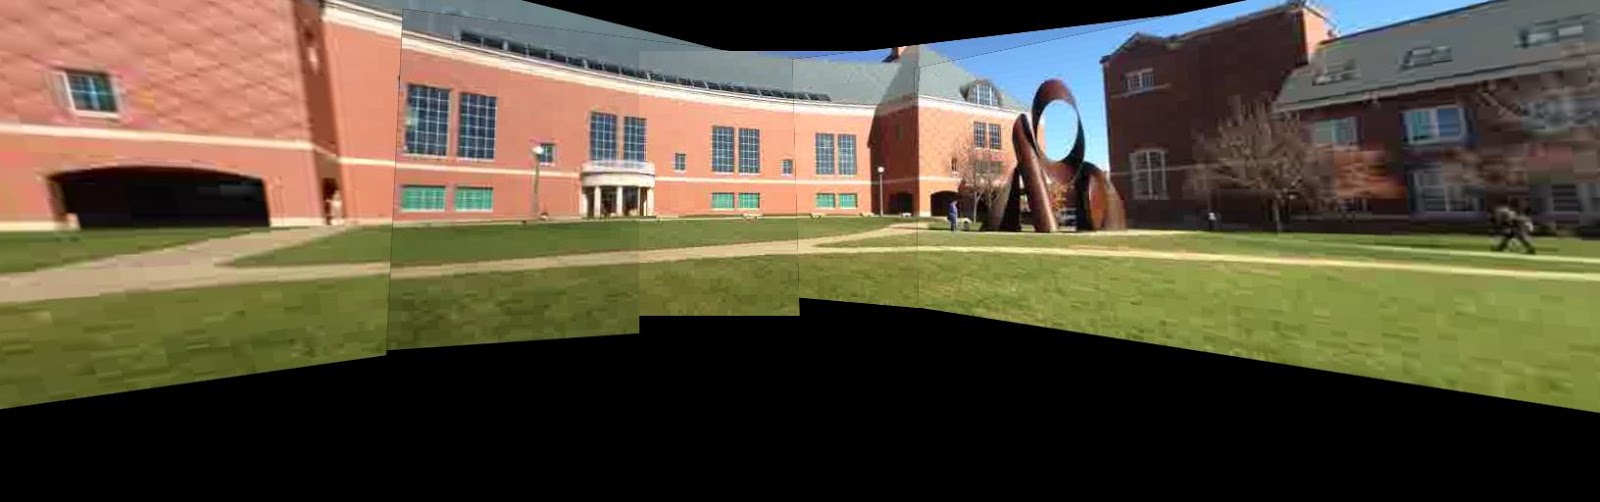
Step 3. Start capturing from left or right as your preference, and
horizontally rotate the camera without tilt forward and backward. Take adequate
no. of snaps without changing focal length of camera. Use monopod or tripod for
avoid tilt or change in height of camera from ground . It also makes rotation of camera easy.

Now your capturing part is complete.
Its time for processing
Process 1. Stitch photos by software
provided by camera manufacturer.
Process 2. Using Adobe® Photoshop (Ps) [Adobe® Photoshop cc 2016 is used for demonstration]
- Step 1. Open Ps > select file >select Automate>photomerge

- Step 2. Layout auto> brows set of picture > select and ok strike out vignette removal and geometric distortion correction


- Step 3. Marge all layers


- Step 4. Transform image to spread it evenly inside the frame, and try to avoid/reduce geometrical distortion

- Step 5. Crop image to remove transparent part at the side of stitched image .


- Step 4. Change brightness. Contrast, exposure to make the stitched photograph, as your eye wants to see.

That's all for capturing your first panorama. HAPPY CLICKING ............... :)